 |
| Newly complete pieces. Afterbirth, wet cats, throw up...You don't even need to think it. I know. |
You'll note I've titled this post
My felting process. It is a pretty rough n' ready process, and I am not creating a finished product that is designed to be worn, machine-washed or subjected to any physical stress. What is it for? It's both a screen and a background. I will be doing things to it that increase the strength of the felt, but
please don't follow this process intending to felt something sturdy like a hat or a handbag.
 |
| Fluffy balls of fibre, ready to be subdued. |
Do you know who can help you with that? The
Toowoomba Spinners Weavers and Dyers group. With 80+ members and the median age of these members being approx. 58 years, if there's a textile-based craft they can't help you with, it's maybe not worth knowing.
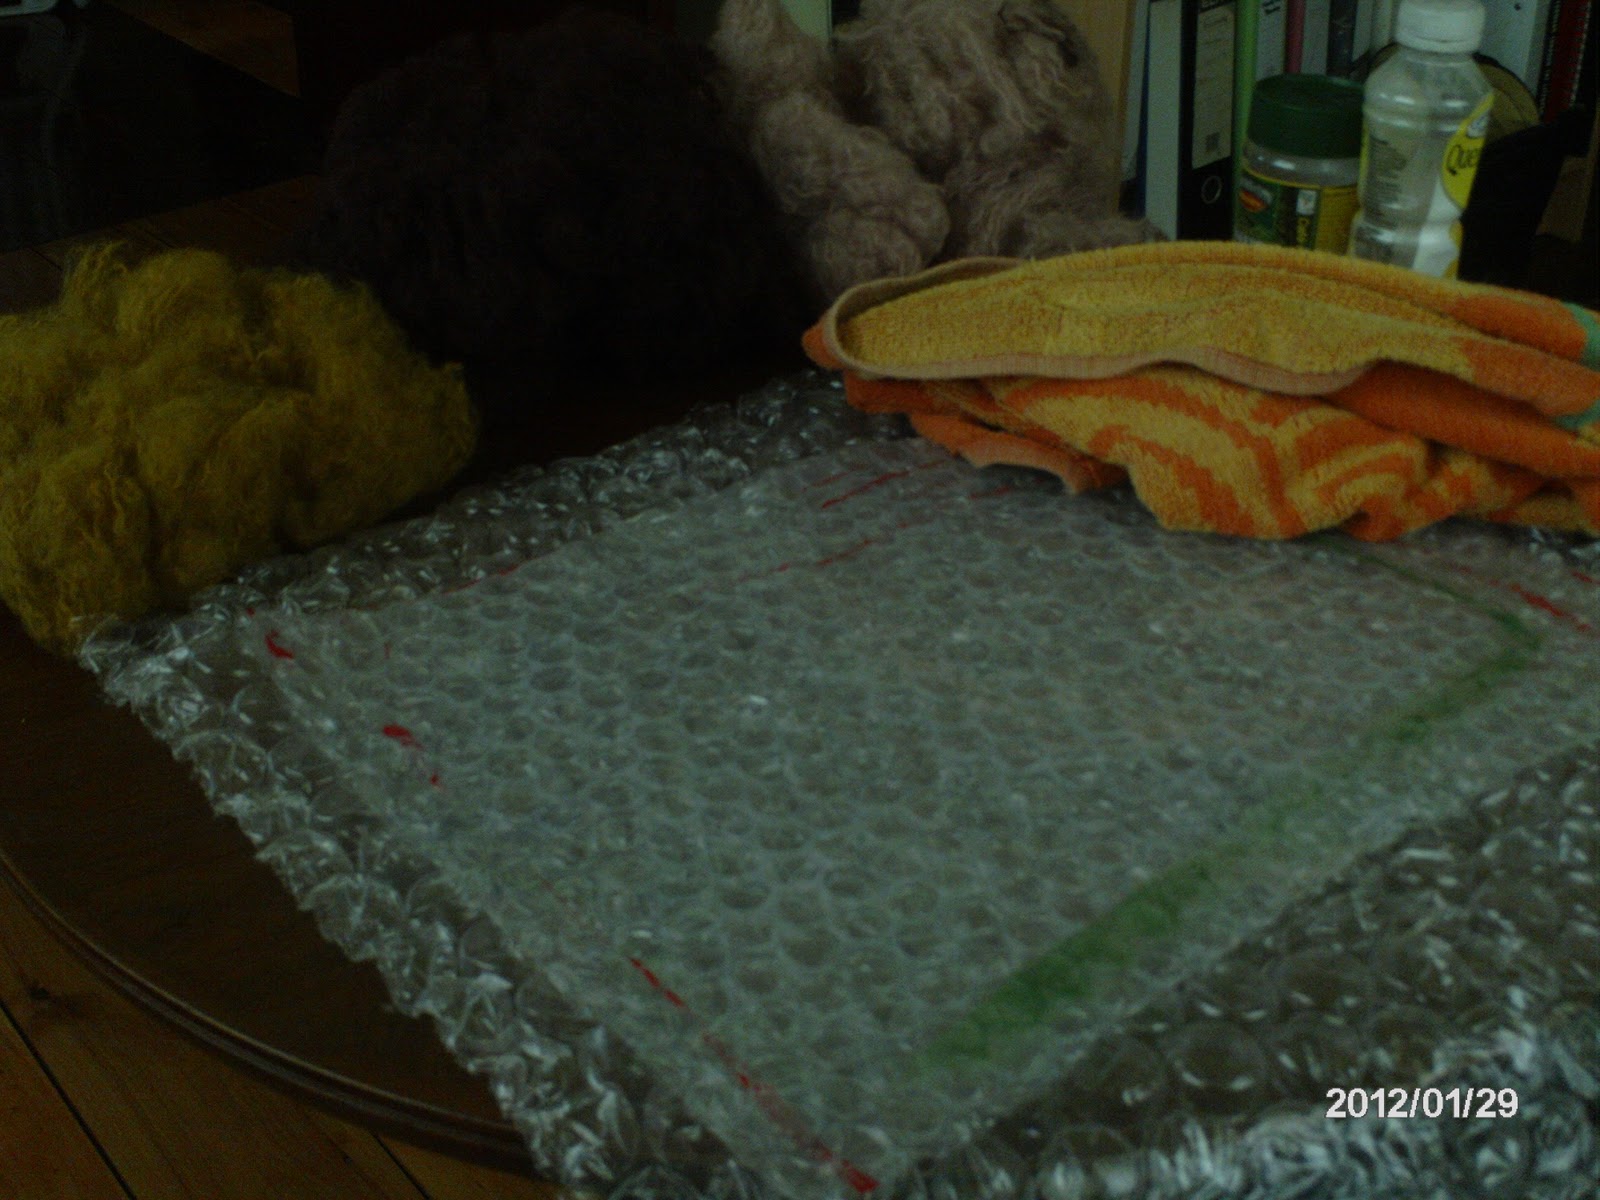
The equipment, all laid out. It's kind of hard to see, so here's the list:
- Fibres
- Plastic dropsheet
- 2 sheets of bubblewrap - one as big as half a towel (bottom piece) and one tea-towel sized (top piece).
- Soap flakes
- Freshly boiled water
- Bottle with holes in the lid so that the hot water can sprinkle out, not pour.
- A ratty old towel for across the knees and afterwards
 |
| Step one: make yourself a cup of tea in flagrant disregard for OHS processes. |
Lay the separated fibres all in one direction, overlapping hanks as you go. Make several layers, you should not be able to see the bubblewrap through the fibres when compressing them (make sure you check).
When complete, sprinkle hot water evenly over fibres. They need to be throughly damp, not saturated. All the fibres should stick to the body of the felt piece. If there are any dry spots, sprinkle a bit more over the area.
 |
| This is the shape this felt piece will take now... |
 |
Press, press with the bubble wrap to ensure an adequate soaking.
|
Now the fibres are thoroughly saturated, add soap flakes. You are aiming for an even sprinkling of soap flakes across the whole piece.
 |
| Not many more flakes than this for a piece this size. |
 |
| Press, press with the soap flakes to work them into the fibres. |
After sprinkling soap flakes, place top piece of bubblewrap over the fibres (bubbles down), and with dry hands rub and rub the back of the bubblewrap until you see foam appear. The trick is to agitate the soap into the fibres, which act as a binding agent. You are also agitating the fibres, so that the layers bond. I think it's a bit like making dredlocks. Product, then matting. Check to see if it looks right (i.e. no thin spots) and keep matting.
 |
| Hmmm, does that look right? Needs more agitation. |
 |
| After more agitation, (and some more tea) I have flipped the piece over. |
 |
Now we agitate the back. You are looking for the soap to foam up into the spaces around the bubblewrap's bubbles.
|
So, I am now happy with the matting that has occured to my wool fibres, and it appears I have made a piece of felt. After I have ensured both sides are felting up successfully, I squish out the excess water/soap liquid.
Now here's the medium tricky part. Using the top piece of bubblewrap, place it over a far edge of your felted fabric and roll it up into the plastic.
 |
| Starting the roll. |
 |
| Halfway through. |
 |
| Nearly done. |
 |
Now what, idiot?
|
You'll note those little white bits of crap in the last photo? That is excess soap. Hold your felt/bubblewrap wad perpendicular to your work area to let some excess drain out. Use this down time to pick out any bits of soap. Alternatively, you can not care about the soap flakes as they will disappear eventually. Take your newly matted felt to a drying rack, place the bubblewrap face down and roll it, unrolling your felt onto the drying rack with as little disturbance as possible.
Last note: Felting is a fair-weather adventure. It's not a good idea to attempt when rain has settled in over your district for the better part of a fortnight, as you will have sodden lumps of felt and wet towels hanging around for much longer then you would like.


No comments:
Post a Comment