Thursday, 9 February 2012

Exhibition at Atelier gallery

So, I have works at the Atelier Unique Fine Art gallery. There's an open day on this Sunday from 12pm-2pm and I would love to see people there, to talk about textiles and what not. There's so much on this weekend! I will be swinging by there in between the Have a Go festival at the Cobb n' Co and the Twee as Folk festival in Newtown Park... oh my goodness, busy days.

I will of course bring along the obligatory needle, ball of wool and tiny scissors. Here's a sneak peek of what's going on at Atelier Unique Fine Art:


Currently, there's a few of the works in several pieces. This will be amended for Sunday. Looking fowards to this year's first exhibition and the first exhibition of Fairy-ring 3; Emergence.

Sunday, 5 February 2012

My felting process

Newly complete pieces. Afterbirth, wet cats, throw up...You don't even need to think it. I know.
You'll note I've titled this post My felting process. It is a pretty rough n' ready process, and I am not creating a finished product that is designed to be worn, machine-washed or subjected to any physical stress. What is it for? It's both a screen and a background. I will be doing things to it that increase the strength of the felt, but please don't follow this process intending to felt something sturdy like a hat or a handbag.
Fluffy balls of fibre, ready to be subdued.
Do you know who can help you with that? The Toowoomba Spinners Weavers and Dyers group. With 80+ members and the median age of these members being approx. 58 years, if there's a textile-based craft they can't help you with, it's maybe not worth knowing.


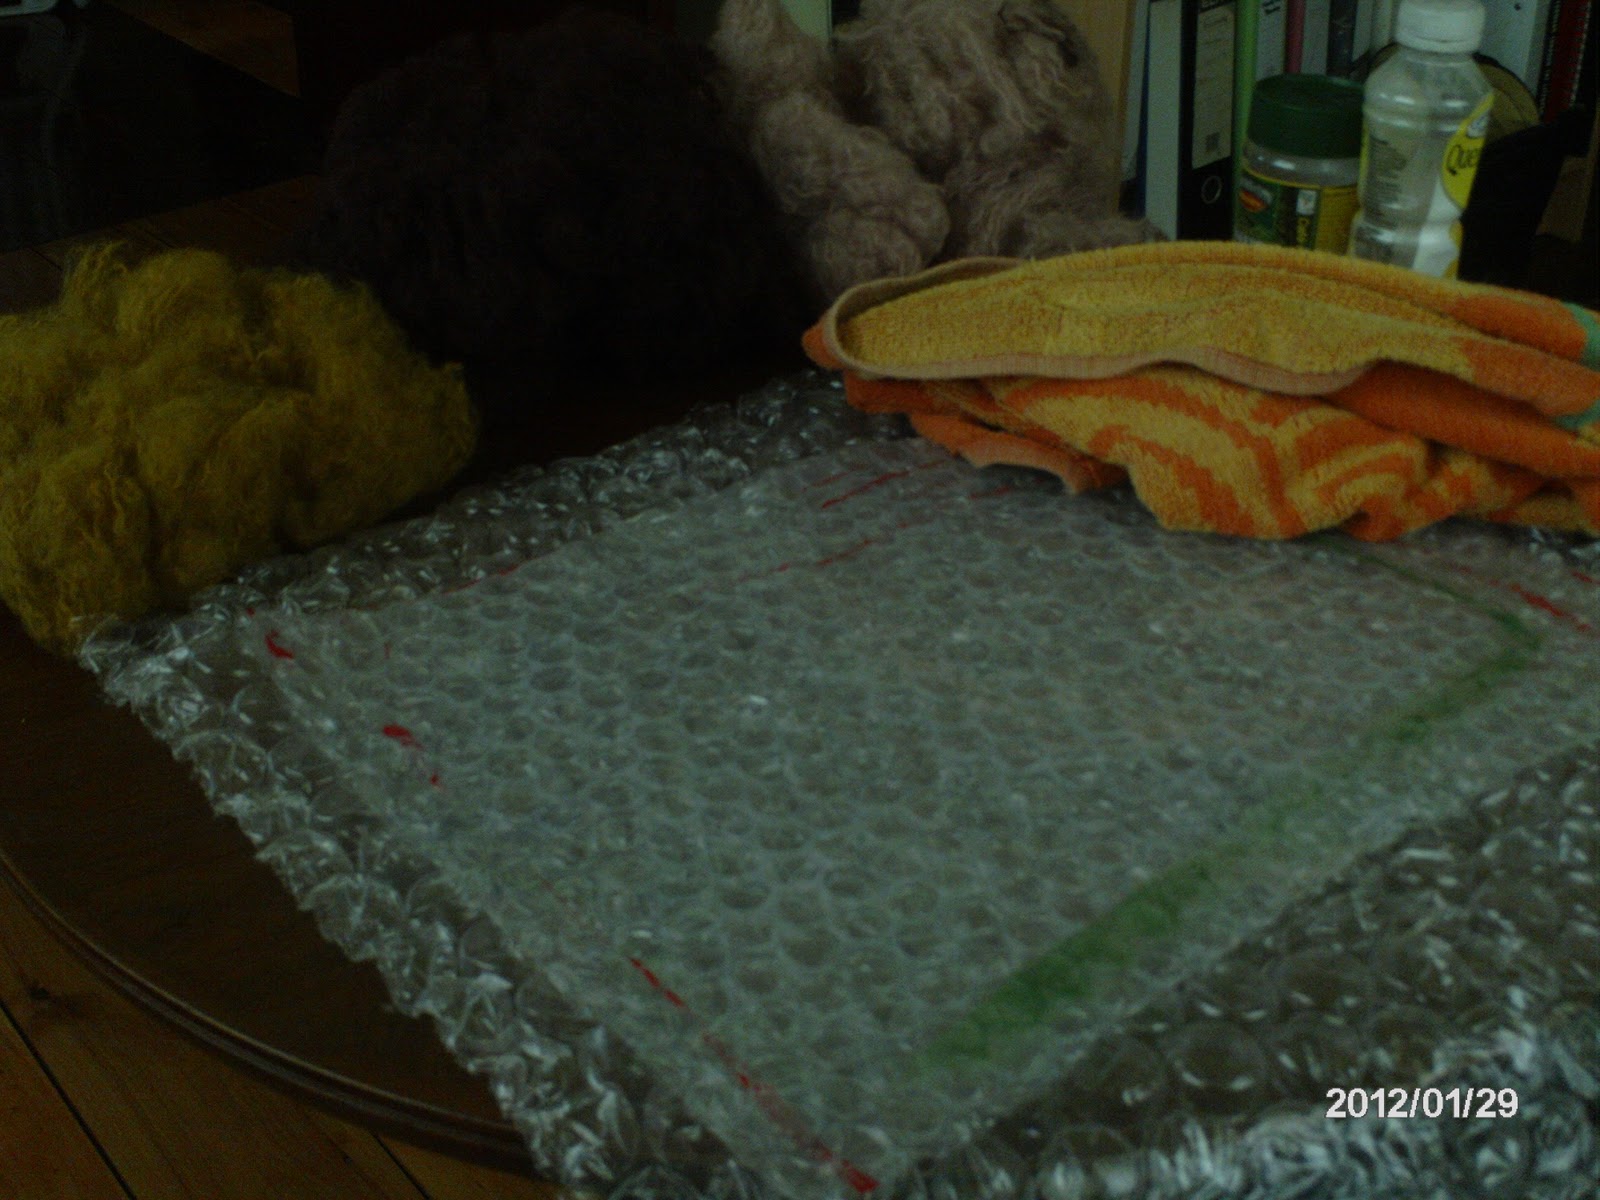
The equipment, all laid out. It's kind of hard to see, so here's the list:
  • Fibres
  • Plastic dropsheet
  • 2 sheets of bubblewrap - one as big as half a towel (bottom piece) and one tea-towel sized (top piece).
  • Soap flakes
  • Freshly boiled water
  • Bottle with holes in the lid so that the hot water can sprinkle out, not pour.
  • A ratty old towel for across the knees and afterwards
Step one: make yourself a cup of tea in flagrant disregard for OHS processes.
Lay the separated fibres all in one direction, overlapping hanks as you go. Make several layers, you should not be able to see the bubblewrap through the fibres when compressing them (make sure you check).

When complete, sprinkle hot water evenly over fibres. They need to be throughly damp, not saturated.  All the fibres should stick to the body of the felt piece. If there are any dry spots, sprinkle a bit more over the area.


This is the shape this felt piece will take now...
Press, press with the bubble wrap to ensure an adequate soaking.

Now the fibres are thoroughly saturated, add soap flakes. You are aiming for an even sprinkling of soap flakes across the whole piece.

Not many more flakes than this for a piece this size.


Press, press with the soap flakes to work them into the fibres.

After sprinkling soap flakes, place top piece of bubblewrap over the fibres (bubbles down), and with dry hands rub and rub the back of the bubblewrap until you see foam appear. The trick is to agitate the soap into the fibres, which act as a binding agent. You are also agitating the fibres, so that the layers bond. I think it's a bit like making dredlocks. Product, then matting. Check to see if it looks right (i.e. no thin spots) and keep matting.
Hmmm, does that look right? Needs more agitation.

After more agitation, (and some more tea) I have flipped the piece over.


Now we agitate the back. You are looking for the soap to foam up into the spaces around the bubblewrap's bubbles.

So, I am now happy with the matting that has occured to my wool fibres, and it appears I have made a piece of felt. After I have ensured both sides are felting up successfully, I squish out the excess water/soap liquid.

Now here's the medium tricky part. Using the top piece of bubblewrap, place it over a far edge of your felted fabric and roll it up into the plastic.

Starting the roll.

Halfway through.

Nearly done.

Now what, idiot?

You'll note those little white bits of crap in the last photo? That is excess soap. Hold your felt/bubblewrap wad perpendicular to your work area to let some excess drain out. Use this down time to pick out any bits of soap. Alternatively, you can not care about the soap flakes as they will disappear eventually. Take your newly matted felt to a drying rack, place the bubblewrap face down and roll it, unrolling your felt onto the drying rack with as little disturbance as possible.

Last note: Felting is a fair-weather adventure. It's not a good idea to attempt when rain has settled in over your district for the better part of a fortnight, as you will have sodden lumps of felt and wet towels hanging around for much longer then you would like.

Monday, 30 January 2012

Felting phase 1: Complete!

Finally, finished.

At three o'clock in the morning that night, I had completed the rest of the wool teasing process. That was good news, because intermittantly my hand was siezing up with a sensation that felt like the sound; "sproing!"
Here they are, ready to felt. And, one rainy Sunday later:


10 pieces, roughly A4 size. Looking at this, I know it is obviously not enough! Soon, I will get back on the felting merry-go-round. But now, I am getting back to the crochet, what will end up being the main body of the work. Does that give some idea of the scale I am planning? More posts soon, including one of the entire felting process (warning: it gets very ugly).

And tomorrow; theGRID! 

Sunday, 29 January 2012

Craftnoons, Jan 2012. Pt. 2: Felting, felting, felting

So, I am getting close to finishing the first large step in what may be the first of several felting projects, all in anticipation for theGRID's beginning in February. In these last couple of days, I am frantically trying to finish what I can, remember what I was supposed to do, be ready to move in and then....get to it, I guess. Mostly, I am focusing on the least stressful aspect: making things!

The more of a run-up I can get, the better.

Separated fibers.

Swoosh! Brushing. Brushing fluffs out the matted wool.

The brown pile: amazeballs.

The neutral wool that is in the bag, that is the last of it (for now). 

Saturday, 28 January 2012

Crafternoons, January 2012.


My artist residency (did I say that right?) begins at theGRID on Wednesday 1st Feb. I am looking forwards to it, a home away from home, and I can probably draw on the walls.
I am currently midway through a huge felting project, definitely related to the commencement of this latest adventure.

You may recognise this cylindrical shape as a measure of hookrug wool. I do not want to make a hookrug in this colour, but I can hopefully find a use for it, as a length of rough, ugly felt (it's still a bit of a secret the as to the why).

Then, using a chopping board and a barbaric steel-bristled wide brush, I turn the pulled apart ply into:


Shitty, ugly fluff! For my health (in case you were wondering) after working with it, I wipe everything in the vicinity down with a wet cloth. It can get into eyes and sinuses, and will be very irritating when it does.

It's taking a while get this mountain of wool done, there's a couple of different colours and a couple of different hanks in each, bags of hanks, boxes of bags. My grandfather used to hook rugs. When he stopped, I got many things that were left over. Join me soon for part two.

Friday, 20 January 2012

Begin anew.

I never got around to the why of all those mushrooms. Those were used in a frantic fortnight of late, late nights and the hysteria you develop after days of reduced sleep. Looking back, I am glad I have photos as it's all a blur of stitch, stitch, stitch, with brief intermissions when Micheal, the owner, wandered past, or when someone noticed the work and came up to the table to play with my stuff. Honestly, these were like rays of sunshine from behind clouds. Creating my work is not all doom and gloom, but it's certainly drudge and trudge, and the light in the tunnel gets faint.
 I appreciate the intermissions.

Beginning of the Creative Tanks project.

My pincushion.


Attaching the mushrooms.
The whole mushroom plan, attached and ready to sew.
That was the first day. At the end of that day, my camera broke, and the next 3 days of the Creative Tanks pop-up exhibit were unrecorded by me, although there are a few images floating around by Nerida Tupas, the mind behind OldFangled Beauties. The work has been completed, and I shall post more of it soon.

Monday, 16 January 2012

An Awkward Juxtaposition of Crafts and Anatomy

DIY vaginas are great. Sometimes the one that comes with the kit can rip or sag with use. It can even get dusty, if you leave it on the shelf behind the preserves and tinned beans for too long. Finally, you will have somewhere nice-smelling and convenient to store petty cash, prophylactics and tranquilizers while haranguing strangers on the street.

The Snatchel.
 
The Snatchel.
Fallopian tube pompoms!
This is The Snatchel, created by Zabet Steward. The colour of this one in particular does my head in, as it is such a violent shade of magenta. She has included instructions to knit your own, and if you feel that the Eurocentric vulva depicted is unattractive, whatever. Make your own. Put your wallet, phone and some chapstick into your vagina, sling it over your shoulder and traipse about the town making some kind of post-punk statement about vagynas and being a womyn, or something.

You can find the instructions here.

The opening of the bag (the vulva)