Showing posts with label How-to. Show all posts

Monday, 19 March 2012

A how-to on making jam, pt. 2.

All that fruit, boiling long into the night....end result.

First things first, the recipe:

Ingredients:
Guavas
Lemons
Sugar

Cover fruit with water, bring to boil, simmer for two hours. Pectin test as needed. Strain liquid, add to pot with sugar in a ratio of .75:1 sugar to liquid. Add the juice of half a lemon per 2 cups (or 50mL) of liquid, boil rapidly, stirring often, until jam begins to set. Bottle and seal.


Nasturtiums, me, and a lemon tree.


Measure ingredients reasonably accurately.

Add sugar, then lemon. The order may not even matter. Ask your gran.

It is recommended to cook fruit slowly, boil jam quickly. I find it hard to do that, being so fidgety I will put the ingredients on, get tired of standing at the stove waiting for 2L of liquid to reach temperature, promise myself I'll come back every two minutes, and then trim bonsais/start crocheting/write a letter/clean something until the smell of burning fruit and sugar brings me running back to the kitchen.


About 1/2 hour on the boil - turning a richer, deep red.

This time, I was able to meet this dilemma in the middle. Jam on simmer, not boil, and I set alarms intermittently throughout the night as a reminder. Easy!

Pectin testing. Captain Obvious says: "Throw out metho/juice mixture to avoid accidental poisonings!"


Boiling the jars.
Boil the jars. When I am re-using old Kan Tong jars, I like to give them a first wash and a long soak in hot soapy water to both clean and soak the old labels off. Metho can be used for a second time in the jam-making process by removing the extra adhesive from unwanted labels.

Boil for at least three minutes. This sterilizes the inside and outside of your jars but you need to remember that the second oily, bacteria-coated skin touches the inside of the glass, it is now un-sterilized. If you bottle like that, whatever was transferred onto the glass has the perfect conditions (food, shelter & exclusivity) to potentially turn the jar into a petri-dish. This will horrify your friends and relatives.

About 5 minutes (max) before pouring the jam, use tongs to handle jars and place them on a clean tea-towel with the lids facing up. Pour the jam into the jars and as quick as you can, grab the lids from the underside and place them on top of the jars. Use a cloth to protect your hands from the hot glass, seal the jars. As the jar cools, the air inside will contract, creating a vacuum and pulling the pop-top seal in.

Daybreak, and there's 5 jelled jams! Science is golden.

Friday, 16 March 2012

Pectin test.

I thought I might add my two cents to conversations on the internet about pectin - particularly since the first one I found was atrocious:


Windygales, you obviously didn't know what you were talking about in your initial post, but thanks for the quick turnaround via BBC food. Her question actually wasn't 'what is pectin?' though, so your second answer is just as useless as your first.

The rest of the conversation has a similar confused, incorrect or speaking-just-for-the-sake-of-it tone.

Who doesn't have methylated spirits around their house? And why are they referred to as meths?

Pectin is a naturally occuring gelling agent in fruit. You can extract it by cooking beforehand. It is assisted by natural acids in the fruit, and you can increase the gelling process by adding lemon juice or tartaric acid. Over-ripe or stale fruit, as well as whole fruit cooked into a preserve, will have less pectin also. Do the pectin test before adding the sugar to determine how much you will need.

Fruits high in pectin and acid:
Currants (red, black and white)
Loganberries
Firm raspberries
Mulberries
Firm, ripe plums  (teehee)
Green apples
Quinces
Citrus

Fruits low in pectin or acid (little to none.)
Pears
Peaches
Sweet cherries
Very ripe grapes
Apricots
Strawberries
Melon
Overripe figs

How I pectin test (alcohol method):
Requires: methylated spirits, boiled fruit, a jar and a lid.

Cover fruit with water and cook between 15-45 minutes (depends on the type), and add 1 tablespoon of that liquid to a jar. Add 3 tablespoons of metho to the jar and shake thoroughly for a minute. Allow to stand for two minutes and pour from one container to another, or stir with a fork. If the mixture has clotted, there's plenty of pectin present and I will add 3/4 of a cup of sugar to one cup liquid, and about 50mLs of citrus juice per 2 cups of liquid.

If there is not, I will cook for another half hour, then re-test. If needed I will increase the sugar/liquid ratio to 1:1 and add an extra 25mls acid per cup, or purchase pectin from a store (absolutely last option, and I still haven't needed to buy any yet...)

For further reading, here's a page whose author knows how to make a jam or two. Maybe even jellies, curds and compotes. It's got good images of how to test for pectin, and gives you a few more choices than I have (jelmeter test, spoon sheet test, refractometer test).

A how-to on making jam

.... very cheaply. I think that's the most important part. Preserves are traditionally made from excess fruit.


Cherry guava fruit.

Don't think I didn't see you there hipsters, spending $20 on enough out-of-season strawberries to make one pot of jam. I am writing this to tell you, enough of that rubbish! Time to use your noggin.


Local knowledge is important (as is opportunistic scrumping). How well do you know your edible fruiting plants? They're out there, in your space right now, and everyone seems too time-poor (or embarrassed?) to do anything with them. Make your preserves when the fruit is available, in such abundance that it is literally rotting on the ground, and they will keep for the next gift-giving event.

A favourite tree, very prolific for the last couple of years.
Are there any forgotten trees in your local area? Here is a cherry guava, in season right now. Note the rubbish around the tree. Lots more rubbish around the back, too.


There was so much fruit. Which was good, because I was planning to make a lot of jam.


Still ripening.
While I was picking fruit, I was forcibly reminded of an important point when my hand brushed against some cold poo.


I am not the only creature that has a right to this tree! So, I left heaps of fruits for the birds, bugs and worms, as well as any others persons that might also want to eat some guavas. And before I left, I picked up the rubbish.


Guavas don't float. This is a sink filled with cherry guavas.

And before I put any in my mouth, I washed them. This brings us to the fun part: top, tail, slice in half. I find this activity is best to do with friends and family members, it goes quicker and you have people to drink and complain with about how it takes so long.


Setting myself up in front of the tv for an hour or two.

Dull, dull times. And stained fingers the next day.

Add water to the pot enough to cover the fruit and simmer.


Boiling the fruit in shifts; two hours apiece.


Next lot to cut while the first lot is boiling.

Another thing to consider is the type of jam you're making. Guavas have tough skins and very hard seeds, so the recipe asks me to use the juice only.


After an hour an a half.
Strain the liquid, squeeze as much as you can out of the pulp and then compost it.


Guava liquid. It is currently on the stove boiling, join me for making jam pt. 2, in which I disclose my recipe and talk about boiling jars.

Jars! That's what I'm doing on a Friday night.

Wednesday, 14 March 2012

First rugging workshop

....went well. Nine people learned a new skill, and I have some more information about running a workshop that will ensure things go more smoothly next time (float!). Bought a receipt book and worked out how to use that too.

Especially not looking at the camera here...

The last time I was in a classroom situation it was with...two dozen year tens. It felt wierd to shift gears up a couple of decades, and initially I felt wary of having my back turned on anyone in case they were throwing glue sticks at the ceiling, feeling each other up or texting.

It just wasn't the right crowd for that!

Everybody got into it, hooray!


And as an added bonus, I learned how to french knit from Leanne. Haven't quite worked out the point of creating any length of such a small, uniform tube (anatomy textiles?) but when I think of a good one, you'll know about it.


Leanne running me through the casting on process.

Sunday, 5 February 2012

My felting process

Newly complete pieces. Afterbirth, wet cats, throw up...You don't even need to think it. I know.
You'll note I've titled this post My felting process. It is a pretty rough n' ready process, and I am not creating a finished product that is designed to be worn, machine-washed or subjected to any physical stress. What is it for? It's both a screen and a background. I will be doing things to it that increase the strength of the felt, but please don't follow this process intending to felt something sturdy like a hat or a handbag.
Fluffy balls of fibre, ready to be subdued.
Do you know who can help you with that? The Toowoomba Spinners Weavers and Dyers group. With 80+ members and the median age of these members being approx. 58 years, if there's a textile-based craft they can't help you with, it's maybe not worth knowing.


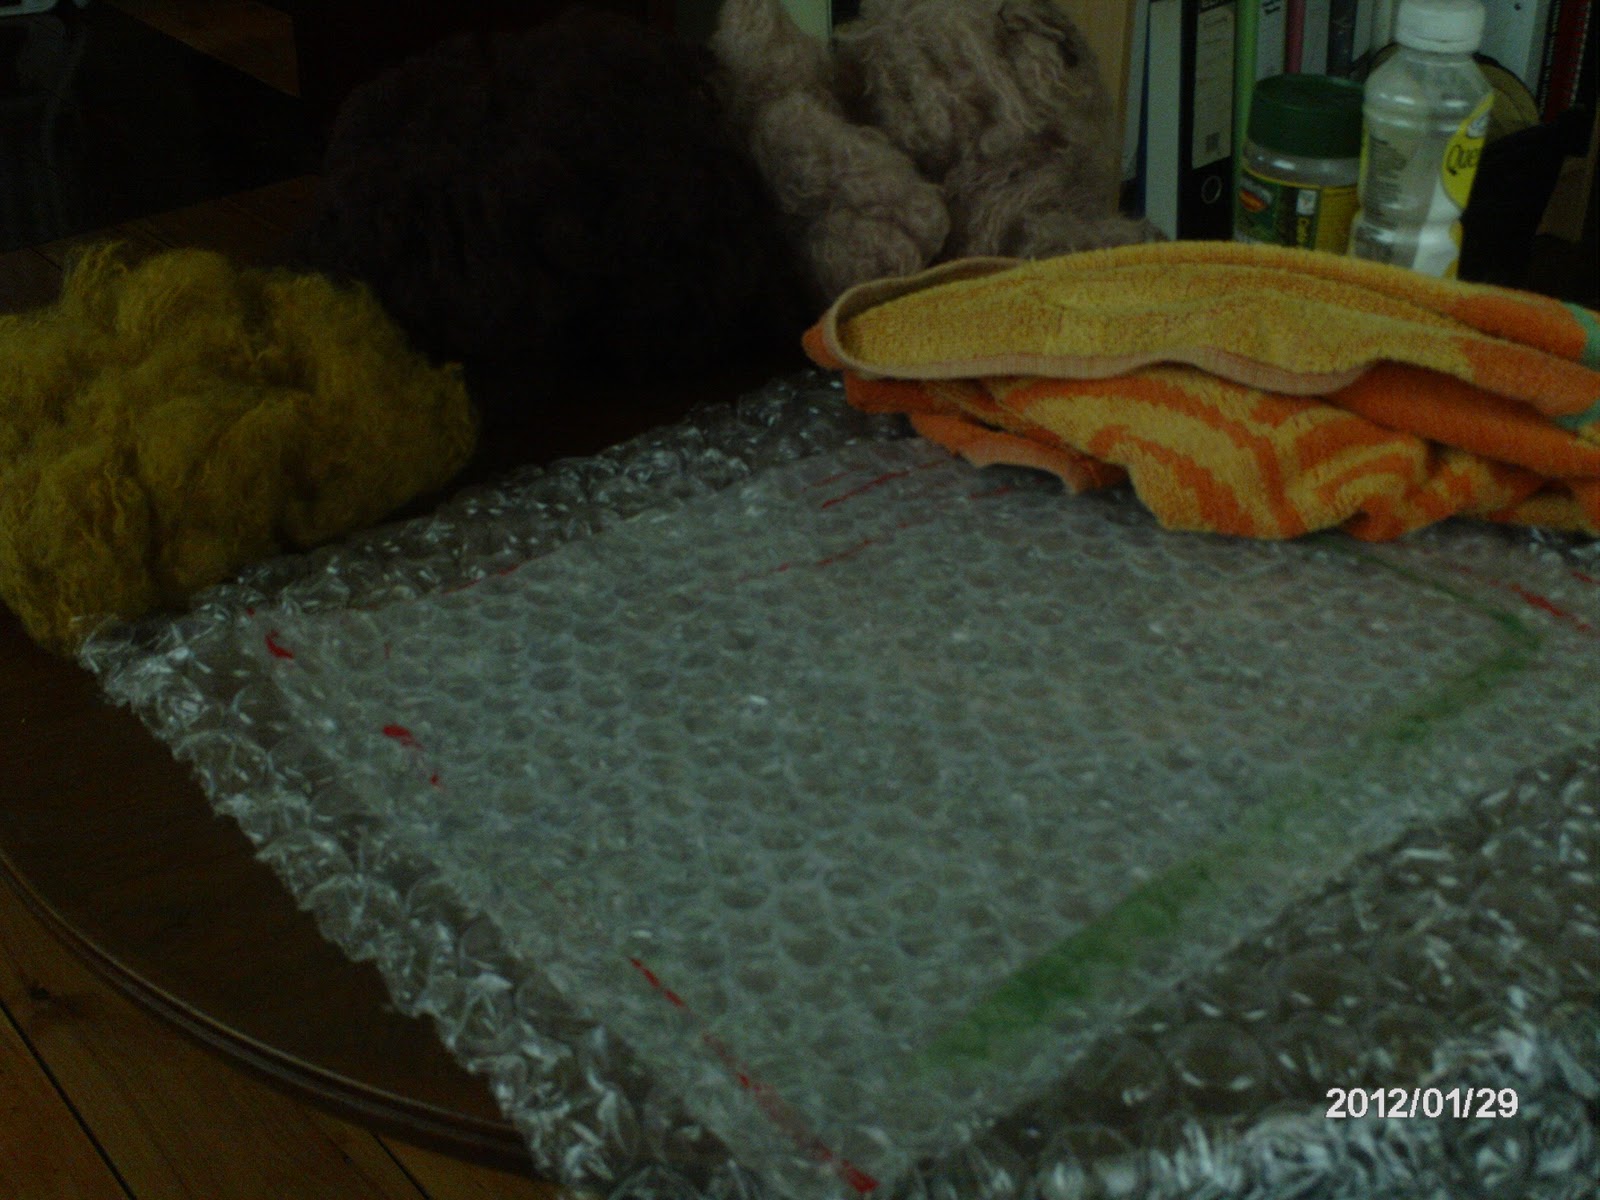
The equipment, all laid out. It's kind of hard to see, so here's the list:
  • Fibres
  • Plastic dropsheet
  • 2 sheets of bubblewrap - one as big as half a towel (bottom piece) and one tea-towel sized (top piece).
  • Soap flakes
  • Freshly boiled water
  • Bottle with holes in the lid so that the hot water can sprinkle out, not pour.
  • A ratty old towel for across the knees and afterwards
Step one: make yourself a cup of tea in flagrant disregard for OHS processes.
Lay the separated fibres all in one direction, overlapping hanks as you go. Make several layers, you should not be able to see the bubblewrap through the fibres when compressing them (make sure you check).

When complete, sprinkle hot water evenly over fibres. They need to be throughly damp, not saturated.  All the fibres should stick to the body of the felt piece. If there are any dry spots, sprinkle a bit more over the area.


This is the shape this felt piece will take now...
Press, press with the bubble wrap to ensure an adequate soaking.

Now the fibres are thoroughly saturated, add soap flakes. You are aiming for an even sprinkling of soap flakes across the whole piece.

Not many more flakes than this for a piece this size.


Press, press with the soap flakes to work them into the fibres.

After sprinkling soap flakes, place top piece of bubblewrap over the fibres (bubbles down), and with dry hands rub and rub the back of the bubblewrap until you see foam appear. The trick is to agitate the soap into the fibres, which act as a binding agent. You are also agitating the fibres, so that the layers bond. I think it's a bit like making dredlocks. Product, then matting. Check to see if it looks right (i.e. no thin spots) and keep matting.
Hmmm, does that look right? Needs more agitation.

After more agitation, (and some more tea) I have flipped the piece over.


Now we agitate the back. You are looking for the soap to foam up into the spaces around the bubblewrap's bubbles.

So, I am now happy with the matting that has occured to my wool fibres, and it appears I have made a piece of felt. After I have ensured both sides are felting up successfully, I squish out the excess water/soap liquid.

Now here's the medium tricky part. Using the top piece of bubblewrap, place it over a far edge of your felted fabric and roll it up into the plastic.

Starting the roll.

Halfway through.

Nearly done.

Now what, idiot?

You'll note those little white bits of crap in the last photo? That is excess soap. Hold your felt/bubblewrap wad perpendicular to your work area to let some excess drain out. Use this down time to pick out any bits of soap. Alternatively, you can not care about the soap flakes as they will disappear eventually. Take your newly matted felt to a drying rack, place the bubblewrap face down and roll it, unrolling your felt onto the drying rack with as little disturbance as possible.

Last note: Felting is a fair-weather adventure. It's not a good idea to attempt when rain has settled in over your district for the better part of a fortnight, as you will have sodden lumps of felt and wet towels hanging around for much longer then you would like.