Showing posts with label Re-use. Show all posts

Wednesday, 29 February 2012

Another experiment.

Two weeks ago, I hosted a pincushion making workshop for Toowoomba Brown Owls. Everyone was successful in creating their own pincushion;

Thanks Melita, for your encouraging words of support.

I still have a lot of left over materials for the kits, and have made extra ones up.


We have spiralling in clockwise from the left: embroidery threads, plastic, bags of stuffing (one with a super awesome surprise sticker), stitch material, REUSE stickers, How-to booklets, lids, eraser, pins, scissors (sewing and paper), pen, pencil, felt siding and bases, cloth, artist cards, supplementary booklets.


Cloth, thread and felt pinned together.

Stitch material folded in the How-to booklet, supplementary booklet and card.


Add bag of stuffing and lid...

All done. And a sticker in the corner like a cherry on top.
The stickers were hand-drawn, and each one is a little different. I drew/compiled the other two booklets aswell, and will be selling these kits at the Smells Like Zines distro in Toowoomba. I can also be contacted via this page and this page if you're interested in purchasing one.


These kits are made from 100% reused or recycled materials, and I will be donating all of the profits to charity.

Tuesday, 28 February 2012

Finding out what else I can do.

A night's folding and drawing, fooling around with 'artsy' shots

Unofficially, I have set myself a challenge of getting out of my comfort zone this year. With uni behind me (for now) I am willing to set myself a lot more goals and due dates in relation to my art. So, as I have probably mentioned in a previous post, two new things I am trying, zines and stickers - are progressing. There's no pressure but my own; but a lot of influence from people I am close to getting out and doing it all, having it all, being part of it all. (Or so it seems).

A how-to on creating a pincushion. Pg 1, 2.

3, 4.

5,6.


Back cover, contact details.


Kits for Brown Owls 19th Feb.


Sticker planning.


Broken printer = hand-drawn stickers. Final design. Simple, hopefully effective.

Kits post-Brown Owls (a bit more polished, at least, that is the aim.)
So far, I have been able to do this around preparations for theGRID. The completion date for the building has again been pushed back another fortnight, and I have been fortunate to be alotted more wriggle room incrementally over the last few months. More time for experiments in paper! With one exception. It's the last day of summer, and I might hold off on making paper 'til the end of the cold season.

Thursday, 16 February 2012

Put an arachnid on it.

Sometimes things are very beautiful but they are also very... not boring (never boring!), but less interesting than they could be. This post was originally titled Put a skull on it as I had initally planned to hop on board the candyskull train to Kitsch Town, but I couldn't find any pictures of skulls that grabbed my attention. That's on the backburner currently.


Note how mean the bedbug looks. 


Anyway, this image of ticks did. And so, I have begun to use it in a small amount of embroidery, namely, this purse. A Pimp my Wallet, except the wallet won't cost thousands of dollars (that I obviously couldn't afford in the first place) for upkeep.


Side view.

.... top view?

Ingredients clockwise from left: diagram, tracing, carbon paper, scissors, sharpener, pencil, thread, quick-unpick, wallet.

First tick.

Placed fairly haphazardly, like actual ticks.

Tick break during lantern time.

I am still tossing up on whether or not to continue the tick pattern around to the other side of the wallet, and a final number of ticks. Also, I now need to find something to do some bedbugs on. I can hear the ghosts of puns past; "OOOOooooOOOoooo say something about a mean bedbug problem in the title of it wOOOOoooOOO...."


And I'll consider it.

Monday, 13 February 2012

Crafternoon Feb 11th; Lantern decoupage

The very cool and switched on Alison Mooney from MARS invited me to go dumpster diving recently. Look what I found! 

Today I do something new.
Just what I've always wanted, one of those things. But in decoupage. So, I went to some sites to find out how to decoupage. 

Because there's nothing I like better than putting the cart before the horse, I had earlier in the week purchased some unappealing dress patterns from an opshop (est. price: $1) in preparation for my imminent decoupage.

Ingredients (clockwise); PVA glue, patterns, pattern sleeve, scissors, brush, some kind of lamp. 
Wet, extremely fragile, hollow sphere of paper and PVA - should have hung it up before starting.

The first couple of panels. At this point, I am still trying to find my way with the medium, and maybe you can tell.


First layer, getting the hang of it now.

Sewing break! Added another tick.

After using up one WHOLE pattern already

The second pattern has many new pictures - mostly arrows and cutting scissors

Don't follow the suggestions of the cutting scissors! All finished with an extra layer of PVA glue to make it tight as a drum.

Relax, have some tea.

At the end of this, I'm not sure if I've just done a decoupage. The Decoupage Guild Australia site has things that are so much more... polished and other sites featuring how-to's are doing... things that are different, I just don't know if I'm doing it right. Is there a difference between decoupage and collage, or is it all just glueing shit to other shit?

I think the sphere will look very nice in my designated space for theGRID anyway. It'll be in a hybrid arts collective (when it opens, in _____________), so I think that will fit right in.

Sunday, 5 February 2012

My felting process

Newly complete pieces. Afterbirth, wet cats, throw up...You don't even need to think it. I know.
You'll note I've titled this post My felting process. It is a pretty rough n' ready process, and I am not creating a finished product that is designed to be worn, machine-washed or subjected to any physical stress. What is it for? It's both a screen and a background. I will be doing things to it that increase the strength of the felt, but please don't follow this process intending to felt something sturdy like a hat or a handbag.
Fluffy balls of fibre, ready to be subdued.
Do you know who can help you with that? The Toowoomba Spinners Weavers and Dyers group. With 80+ members and the median age of these members being approx. 58 years, if there's a textile-based craft they can't help you with, it's maybe not worth knowing.


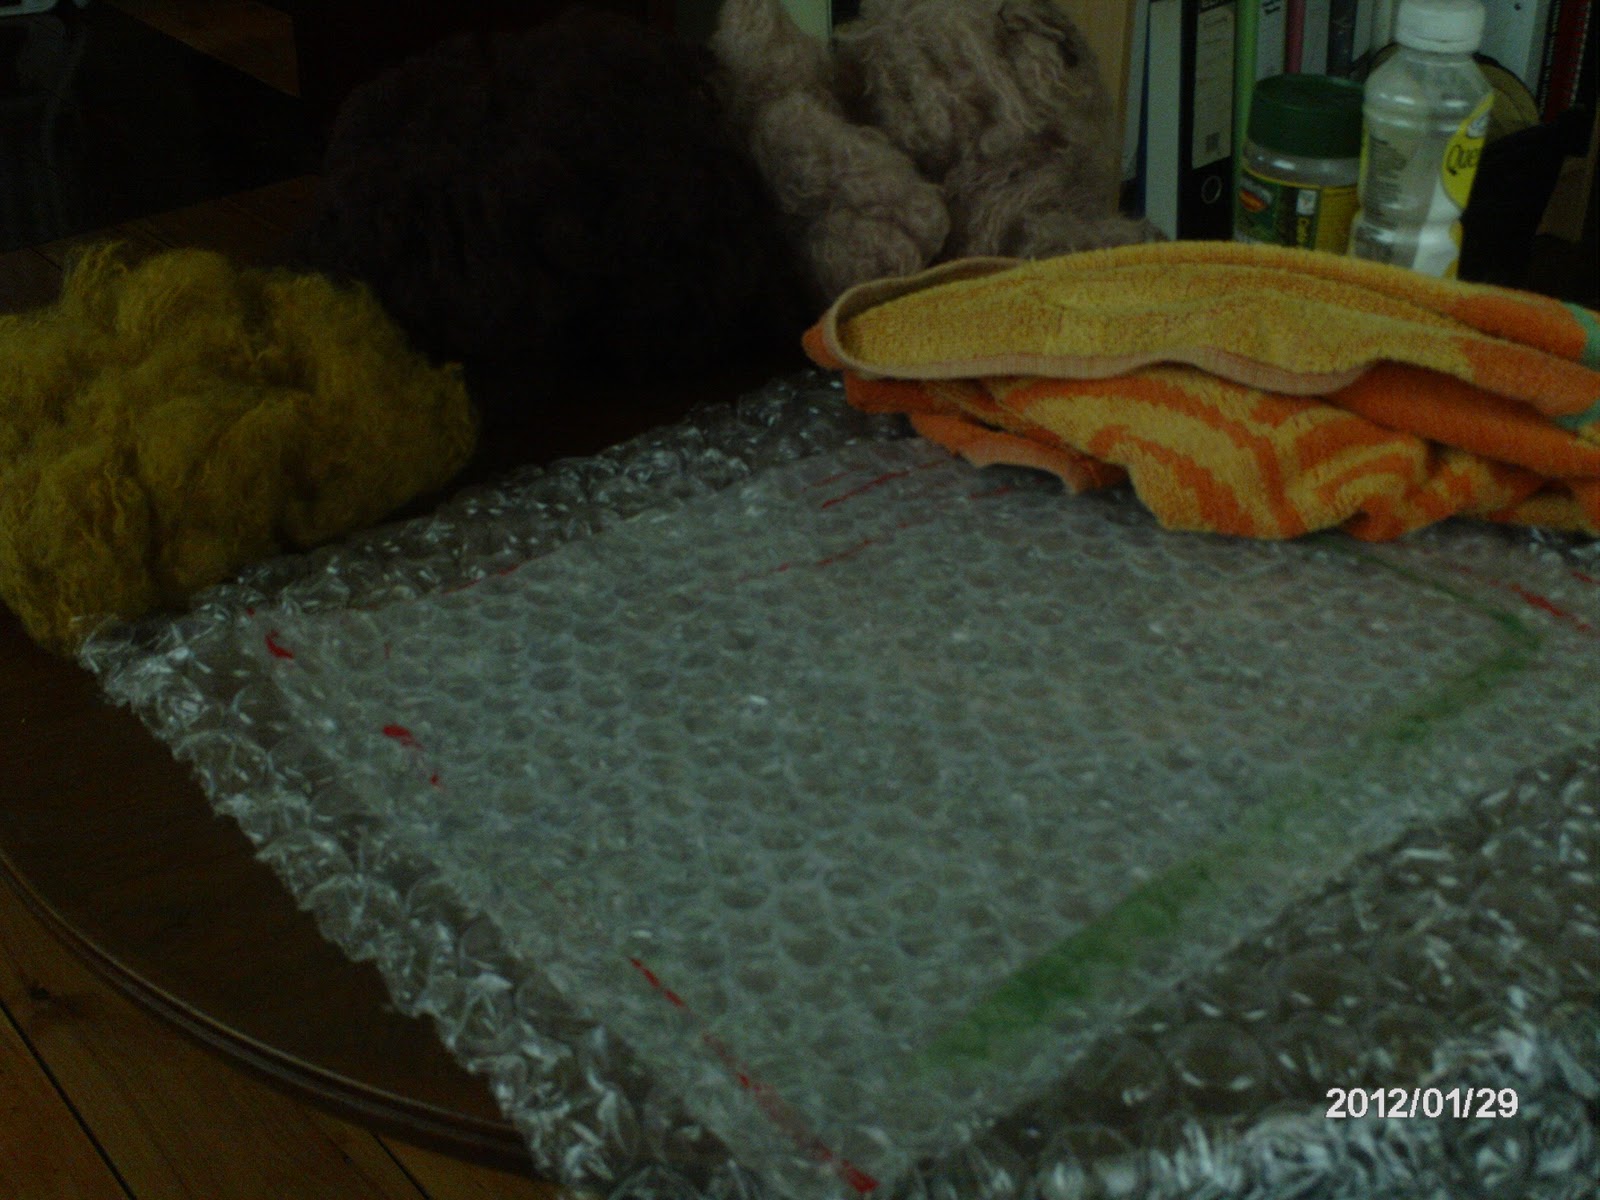
The equipment, all laid out. It's kind of hard to see, so here's the list:
  • Fibres
  • Plastic dropsheet
  • 2 sheets of bubblewrap - one as big as half a towel (bottom piece) and one tea-towel sized (top piece).
  • Soap flakes
  • Freshly boiled water
  • Bottle with holes in the lid so that the hot water can sprinkle out, not pour.
  • A ratty old towel for across the knees and afterwards
Step one: make yourself a cup of tea in flagrant disregard for OHS processes.
Lay the separated fibres all in one direction, overlapping hanks as you go. Make several layers, you should not be able to see the bubblewrap through the fibres when compressing them (make sure you check).

When complete, sprinkle hot water evenly over fibres. They need to be throughly damp, not saturated.  All the fibres should stick to the body of the felt piece. If there are any dry spots, sprinkle a bit more over the area.


This is the shape this felt piece will take now...
Press, press with the bubble wrap to ensure an adequate soaking.

Now the fibres are thoroughly saturated, add soap flakes. You are aiming for an even sprinkling of soap flakes across the whole piece.

Not many more flakes than this for a piece this size.


Press, press with the soap flakes to work them into the fibres.

After sprinkling soap flakes, place top piece of bubblewrap over the fibres (bubbles down), and with dry hands rub and rub the back of the bubblewrap until you see foam appear. The trick is to agitate the soap into the fibres, which act as a binding agent. You are also agitating the fibres, so that the layers bond. I think it's a bit like making dredlocks. Product, then matting. Check to see if it looks right (i.e. no thin spots) and keep matting.
Hmmm, does that look right? Needs more agitation.

After more agitation, (and some more tea) I have flipped the piece over.


Now we agitate the back. You are looking for the soap to foam up into the spaces around the bubblewrap's bubbles.

So, I am now happy with the matting that has occured to my wool fibres, and it appears I have made a piece of felt. After I have ensured both sides are felting up successfully, I squish out the excess water/soap liquid.

Now here's the medium tricky part. Using the top piece of bubblewrap, place it over a far edge of your felted fabric and roll it up into the plastic.

Starting the roll.

Halfway through.

Nearly done.

Now what, idiot?

You'll note those little white bits of crap in the last photo? That is excess soap. Hold your felt/bubblewrap wad perpendicular to your work area to let some excess drain out. Use this down time to pick out any bits of soap. Alternatively, you can not care about the soap flakes as they will disappear eventually. Take your newly matted felt to a drying rack, place the bubblewrap face down and roll it, unrolling your felt onto the drying rack with as little disturbance as possible.

Last note: Felting is a fair-weather adventure. It's not a good idea to attempt when rain has settled in over your district for the better part of a fortnight, as you will have sodden lumps of felt and wet towels hanging around for much longer then you would like.

Monday, 30 January 2012

Felting phase 1: Complete!

Finally, finished.

At three o'clock in the morning that night, I had completed the rest of the wool teasing process. That was good news, because intermittantly my hand was siezing up with a sensation that felt like the sound; "sproing!"
Here they are, ready to felt. And, one rainy Sunday later:


10 pieces, roughly A4 size. Looking at this, I know it is obviously not enough! Soon, I will get back on the felting merry-go-round. But now, I am getting back to the crochet, what will end up being the main body of the work. Does that give some idea of the scale I am planning? More posts soon, including one of the entire felting process (warning: it gets very ugly).
And tomorrow; theGRID!